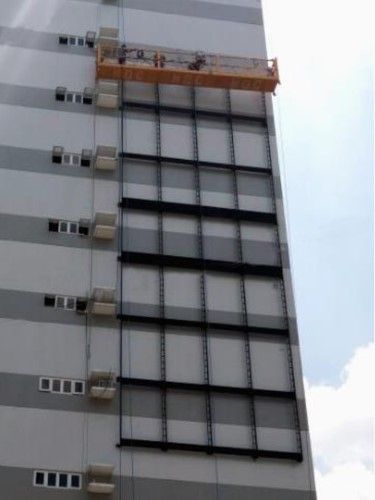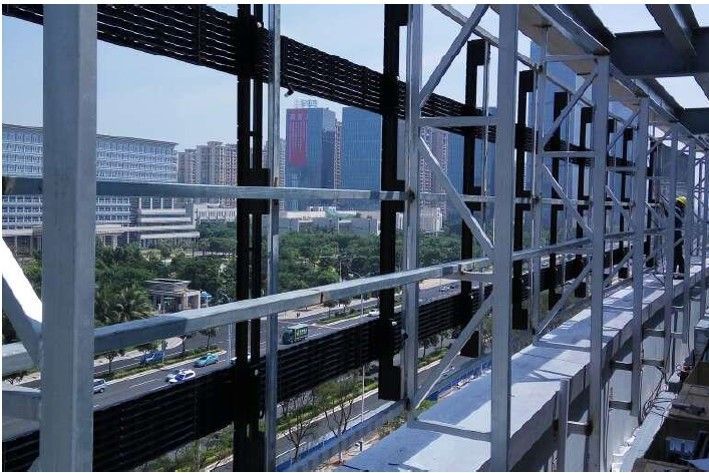
This Guide is for inllustrated with the Horizongtally mounted proucts installed on the exterior walls of buildiings, for other installation (the top of the building, the outside of the glass curtain wall. Outdoor billboard. ect), or vertical installation, may referer to the document related contennt.
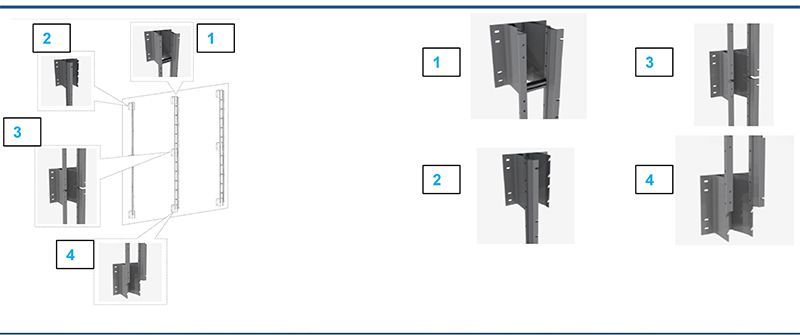
Mouting Part: moutinting slot:

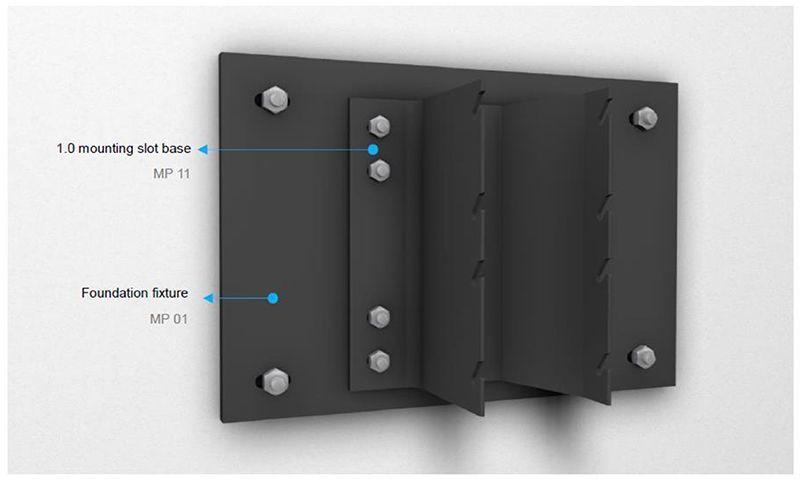
Installation Step-1: installation of fixing Piece:
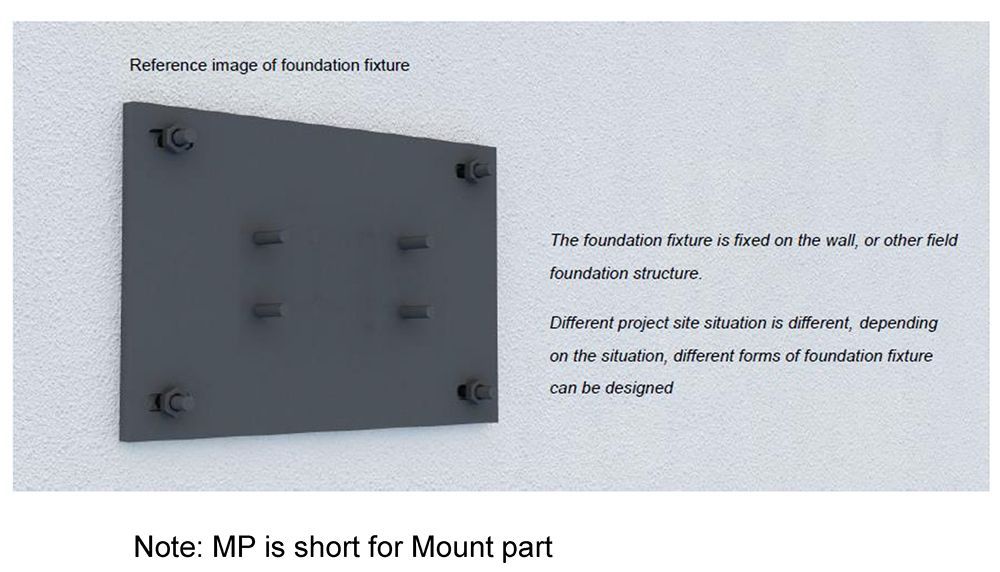
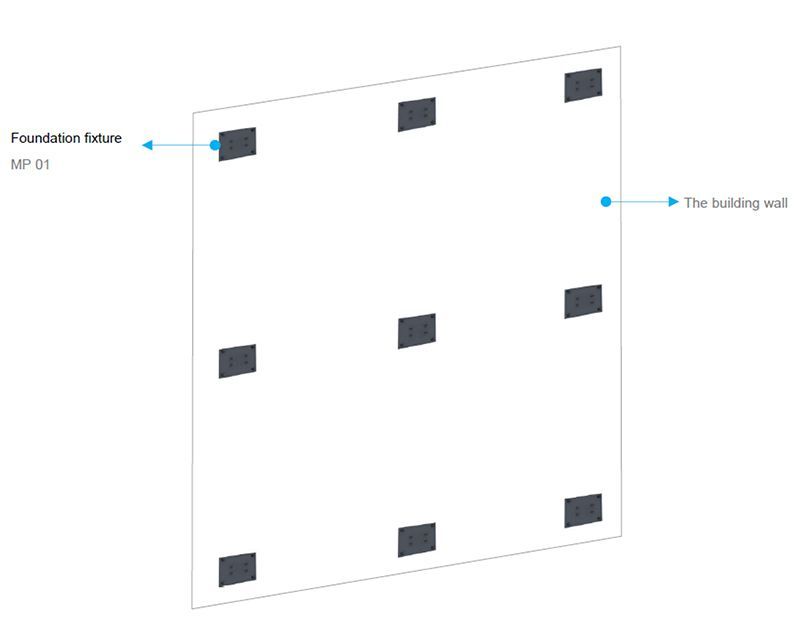
Installation Step-2: installation of mouting slot base:
Installation Step-3: installation of mouting slot:
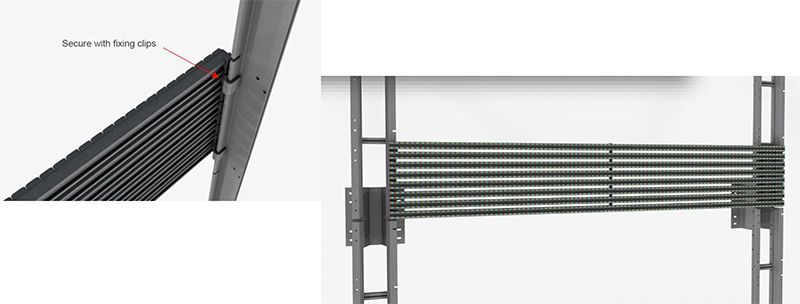
Installation Step-4: Installation of Unit:
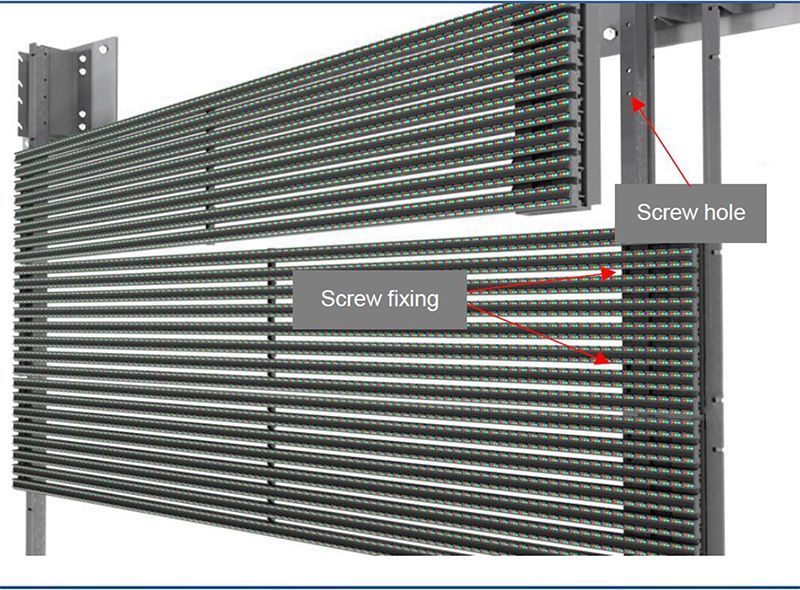
Installation Step-4: Installation of Unit:
uTo ensure a smooth installation, before start installing the product unit, mouting slot installation accuracy must be calibrated.
u To adjust the instalation accuracy, in addition to using an variety of measurement tools, should also try to put re reference unit. The so-called reference unit is a row of units installed at a distance. In principle, each mouting slot should be fitted with a row of reference ceils.
uUsing the reserved installation holes of foundation fixture and mouting slot base to locate the mouting slot accrately.
Calibration of mouting slot:
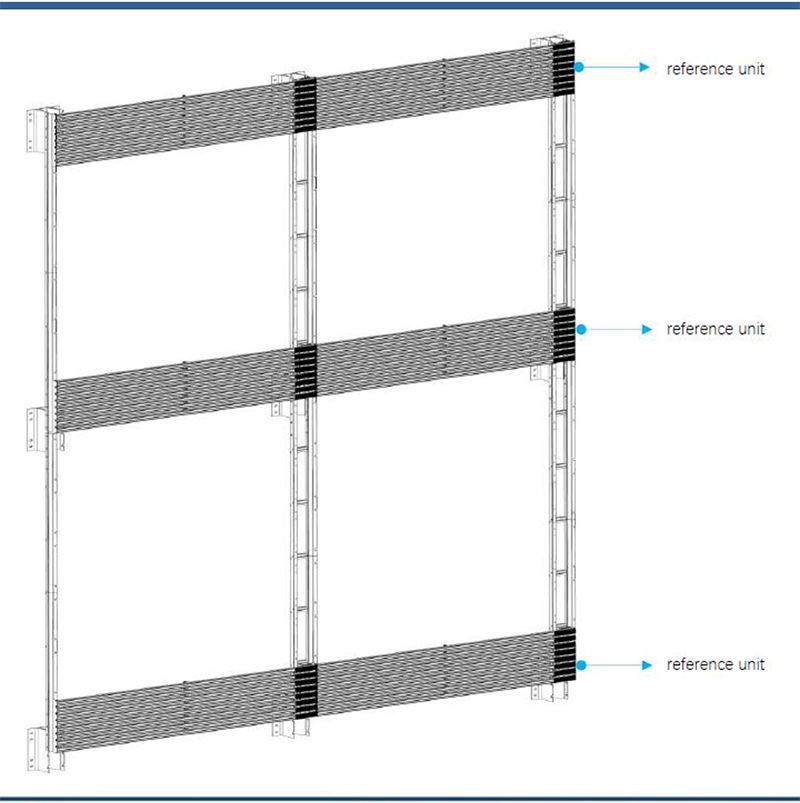
Installation Example
